Last updated November 22, 2026
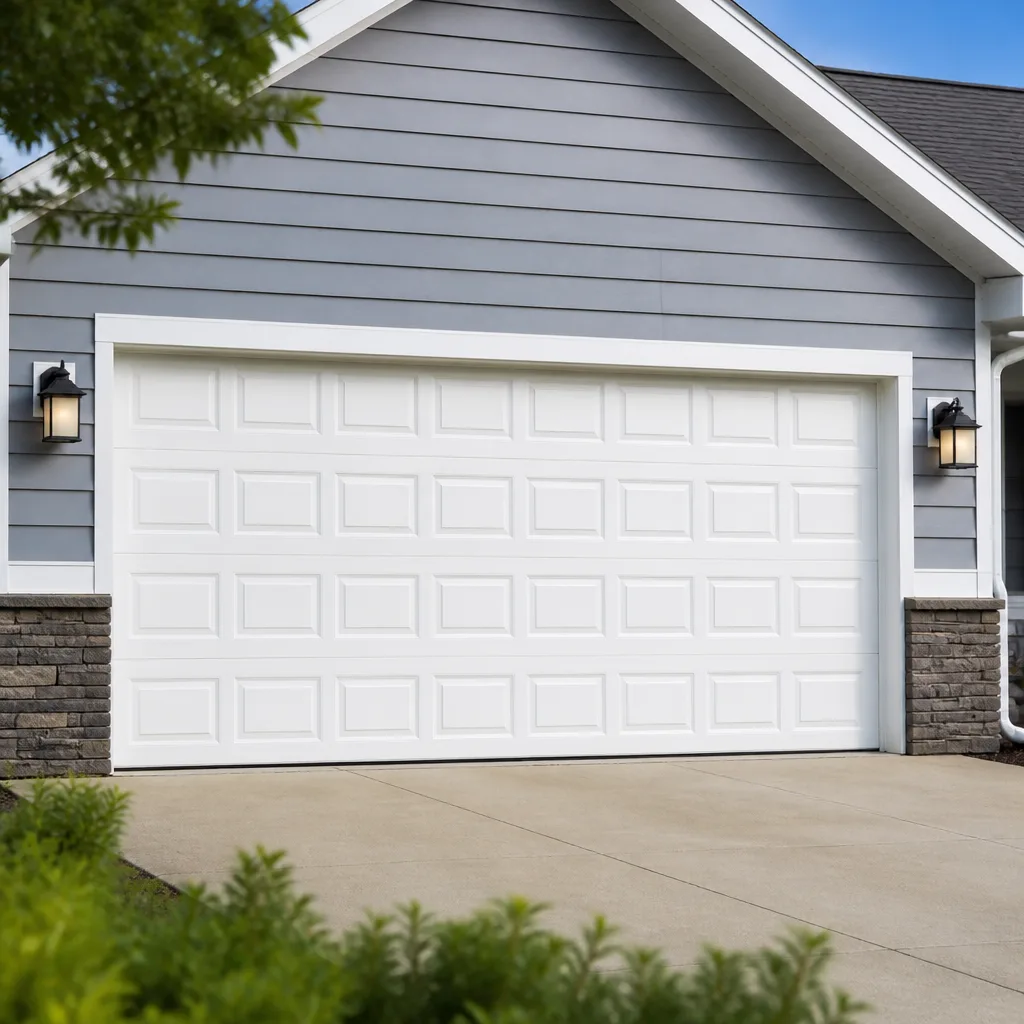 Raised-panel steel
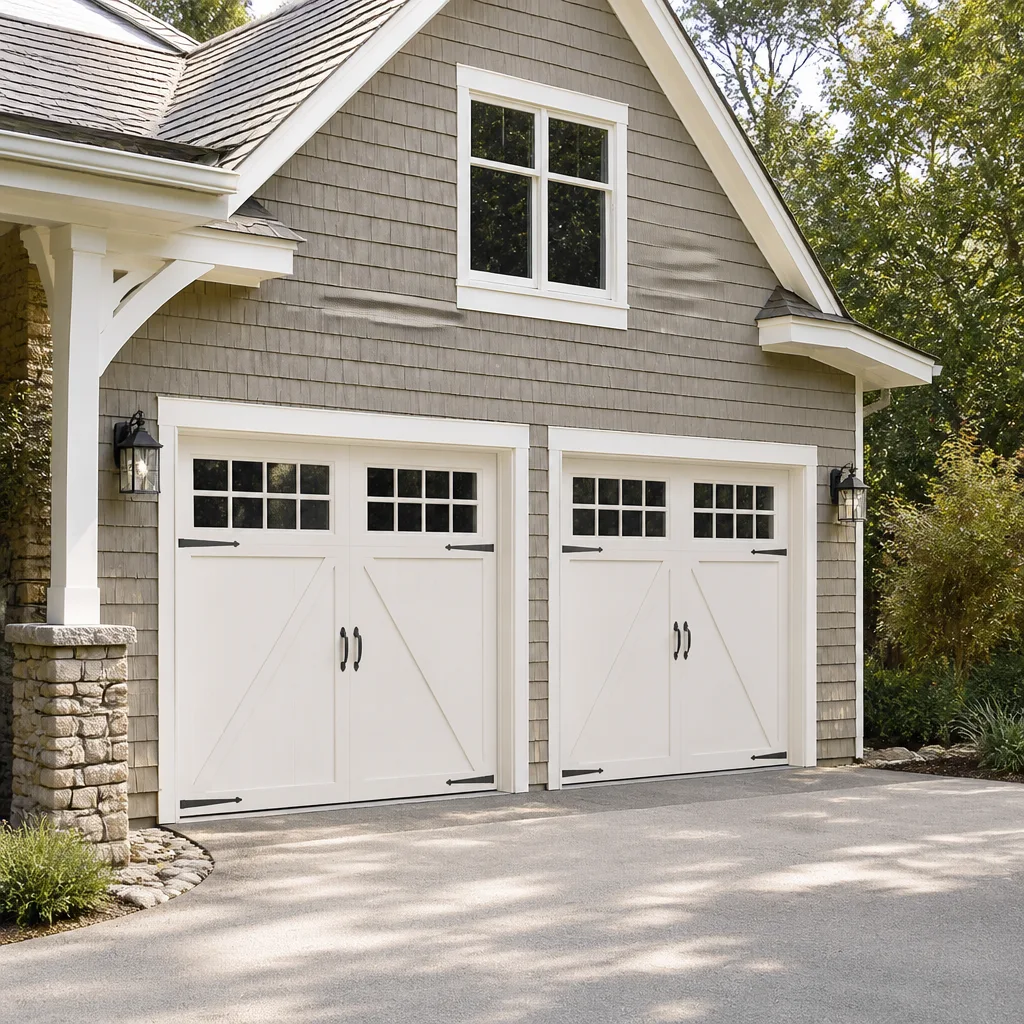 Carriage house
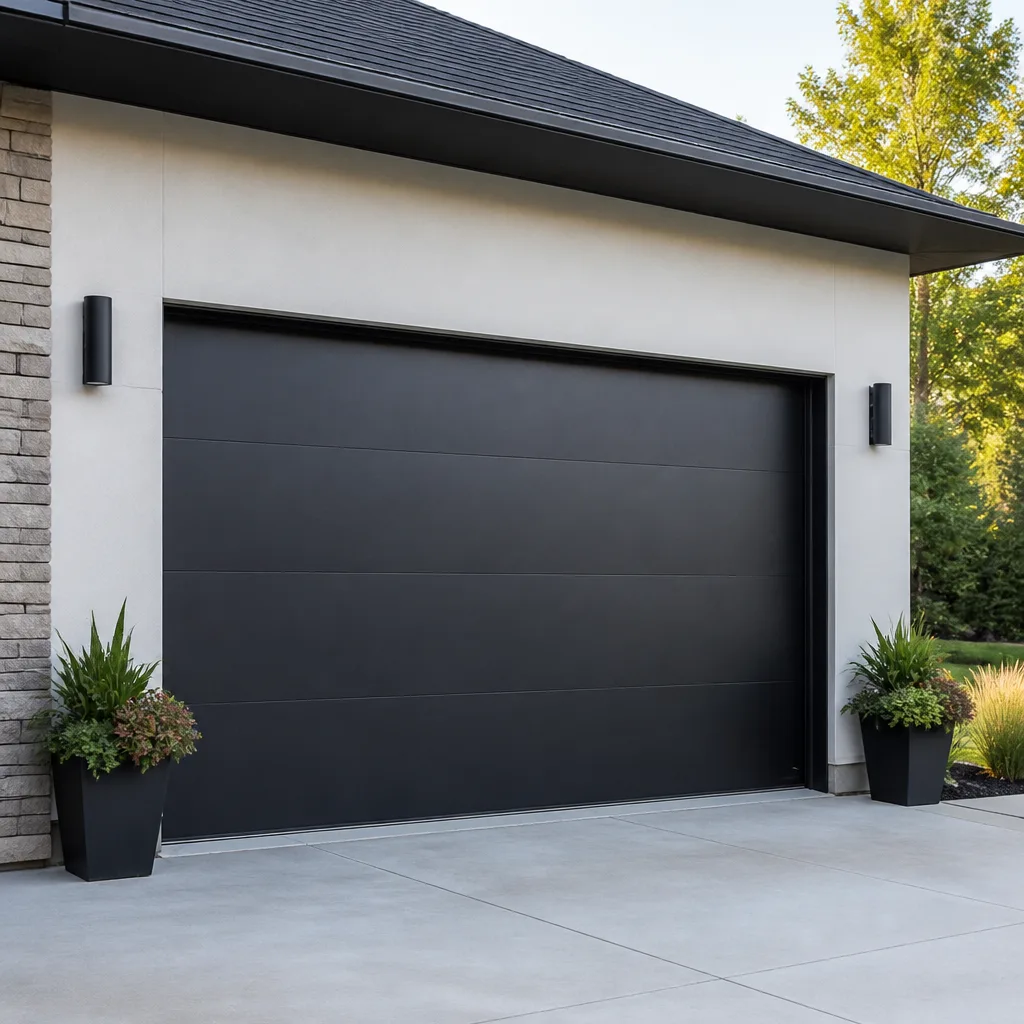 Modern flush
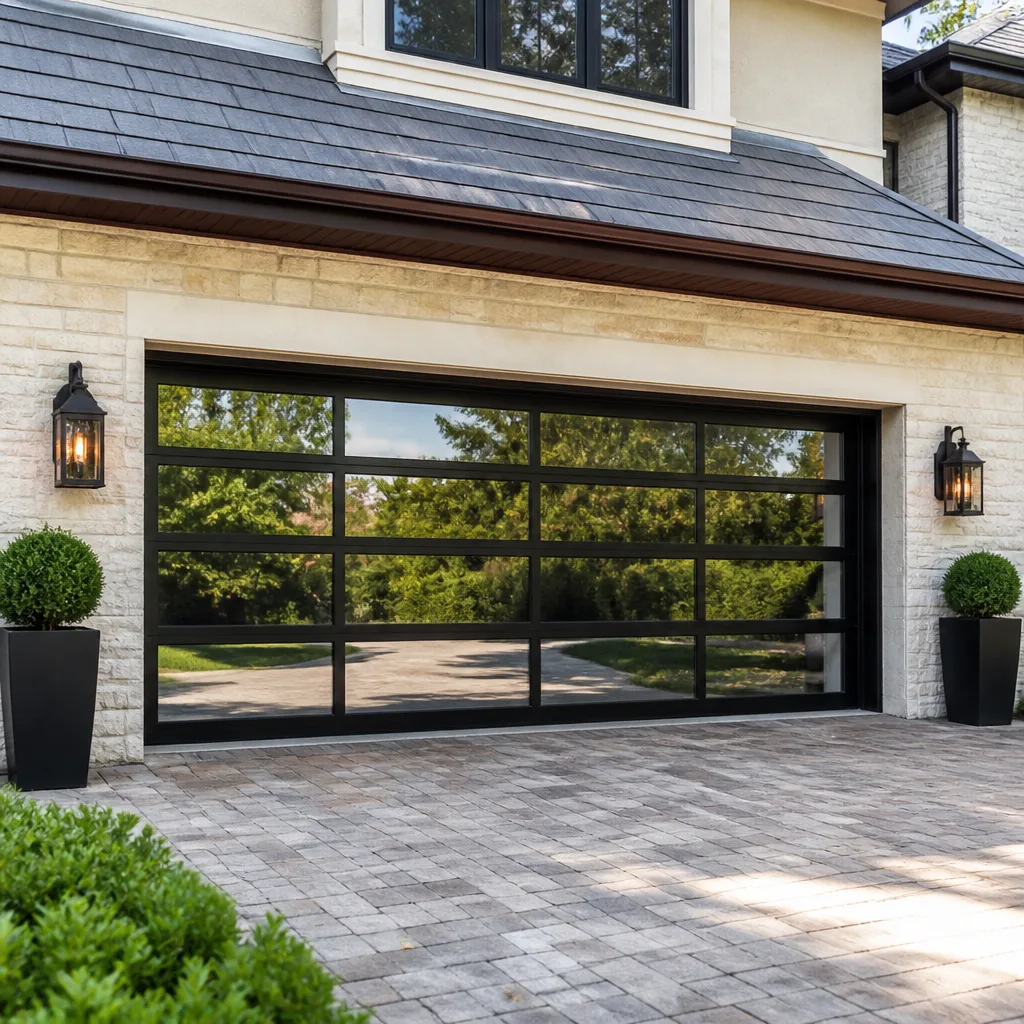 Full-view glass
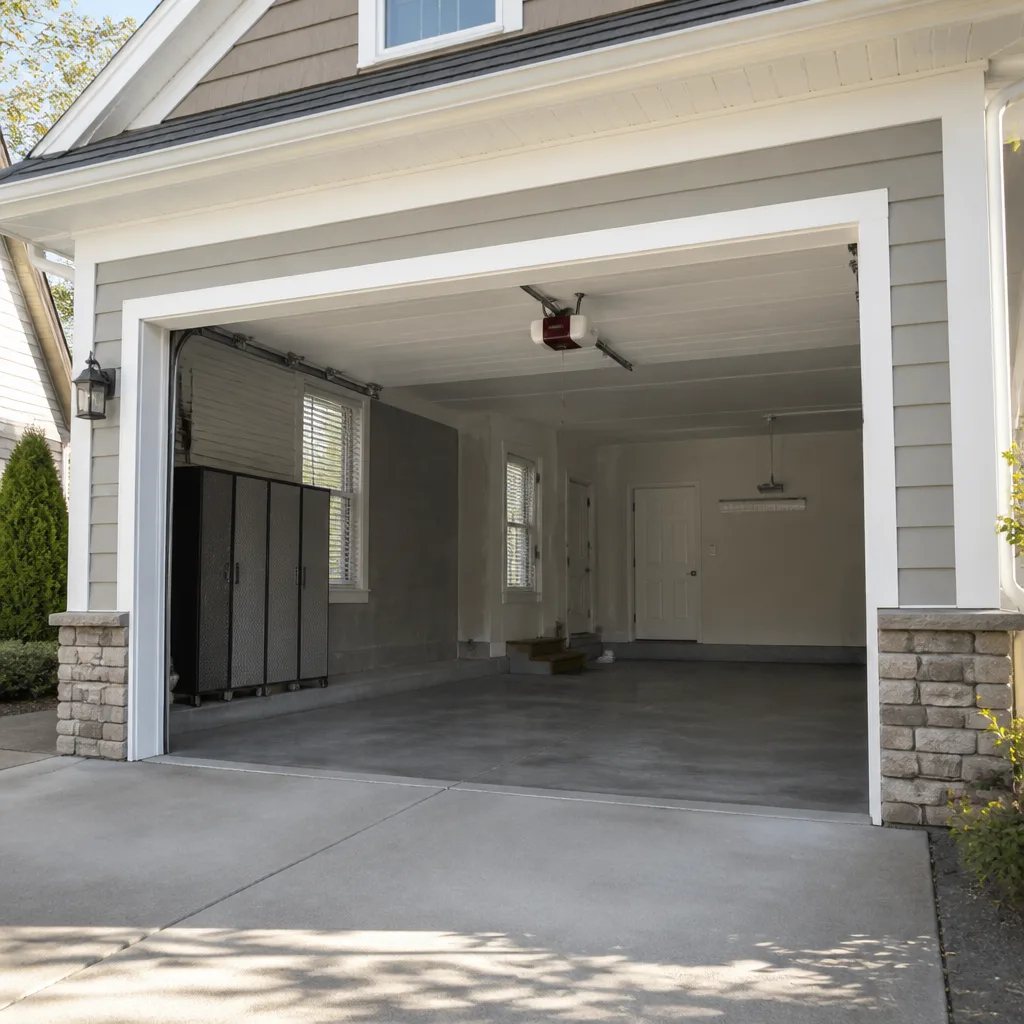 LiftMaster openers
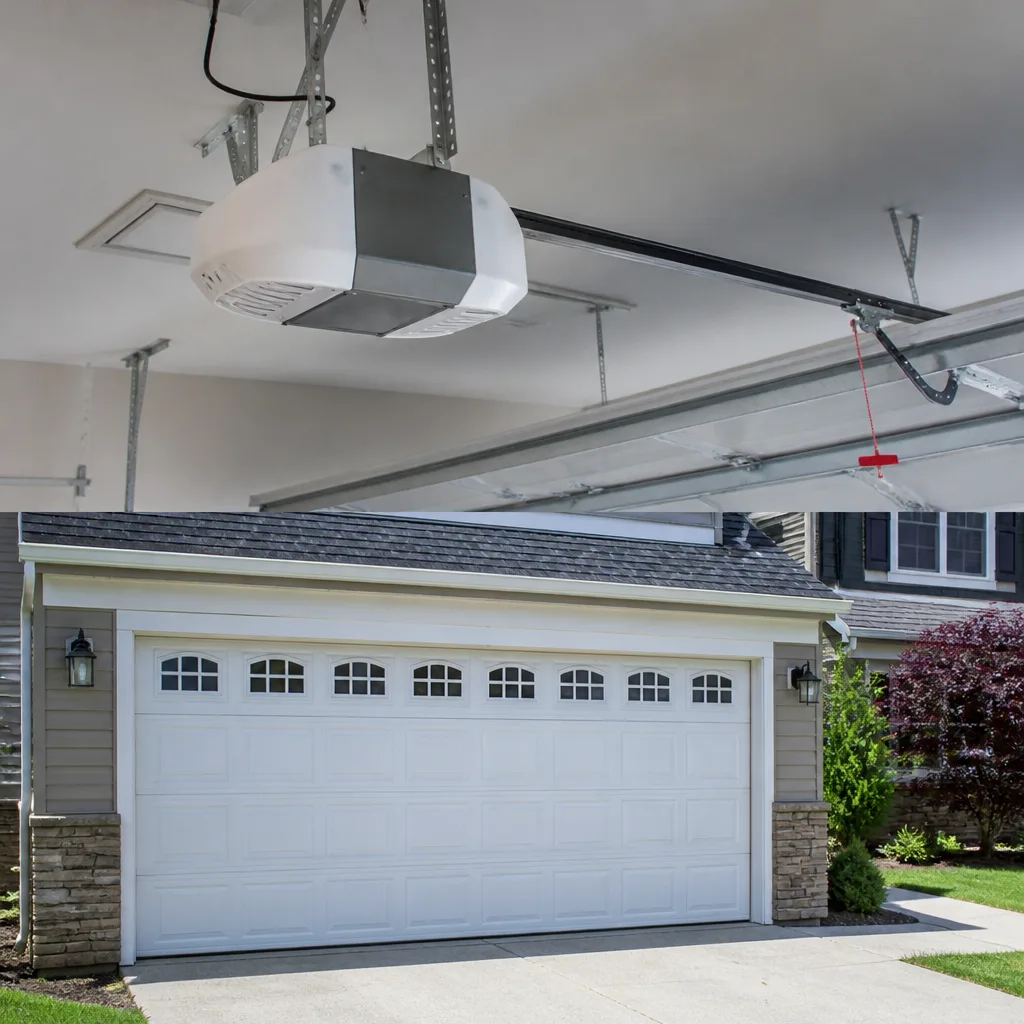 Chamberlain openers
Full 25-point door and opener safety check with every visit - springs, cables, rollers, tracks, and your LiftMaster or Chamberlain opener included
You get a price before we start. It does not change when the pro arrives.
Get your free estimateGarage Door Repair Maintenance Checklist for Camden Homeowners
Most garage door repair calls in Camden don’t start with a snapped spring. They start with a bottom weatherseal that was cracking quietly for a winter and a half, letting meltwater sit against the bottom panel. What would have been a cheap seal swap becomes a track that’s out of plumb. That’s the pattern we see over and over: small, cheap parts fail first, and the expensive damage is what happens while nobody’s looking. This guide is built backwards from the repair calls we actually get in Camden. Every task below is tied to a specific breakdown it prevents, so you know why it matters, not just that someone told you to do it.
Quick Answer
A working garage door maintenance checklist for Camden comes down to seven recurring tasks: lubricate the moving parts with cold-rated grease, test the balance of the door by hand, inspect springs visually without touching them, check the bottom seal and threshold before freeze-up, run the opener’s force-limit and safety-reverse test, tighten the hinges and roller brackets, and write down what you did and when. Done twice a year, in fall and spring, that routine catches nearly every failure mode before it turns into an emergency call.
Styles & brands we work with
- Raised-panel steel
- Carriage house
- Modern flush
- Full-view glass
- LiftMaster openers
- Chamberlain openers
Table of Contents
- Why Camden Doors Fail Differently
- The Bottom Seal and Threshold: Start Here
- Lubrication in a Cold-Climate Market
- Inspecting Torsion Springs Without Touching Them
- The Balance Test: Is Your Door Struggling?
- The 60-Second Opener Force-Limit Test
- Hardware Tightening and Roller Wear
- Documenting Maintenance for Warranty and Resale
Why Camden Doors Fail Differently
Camden sits in a cold-climate market, and that changes the failure order. In a mild climate, the most common garage door problems tend to be electrical: opener logic boards, remotes that refuse to pair, limit switches drifting. In Camden, the mechanical parts carry the load first. A door that gets cycled a dozen times a day in summer and then meets a hard freeze has been asked to do two different jobs with the same hardware.
The freeze-thaw cycle is the biggest reason. Ground movement around the slab is real, and it pushes on the bottom of the door frame. A threshold seal that was flush in October can sit slightly lifted by February, and the bottom weatherseal rides on it all winter, wearing thin where it contacts the uneven edge. That’s why a $15-$30 seal replacement, done in the fall, is one of the cheapest insurance policies you can buy for your door.
Cold also affects the metal itself. Steel panels contract slightly, and seams that look tight in summer can open just enough to let water in. Lubricants that work fine at 70 degrees turn to wax at 10 below. Springs, which are already carrying a heavy load, get more brittle. None of this is catastrophic if you’re checking for it. All of it becomes an emergency call if you’re not, because a garage door that fails in a Camden winter often does it on a morning when you need to leave.
If anything on this page turns up a problem you’re not sure about, our garage door repair team can take a look and tell you what’s actually failing.
The Bottom Seal and Threshold: Start Here
If you only do one task on this checklist, do this one. The bottom weatherseal is the rubber or vinyl strip along the lowest panel of the door, and it takes more physical wear than any other part of the system. Every time the door closes, it compresses against the threshold. Every winter, it meets ice, grit, and the small ground-shifts that come with freeze-thaw. When it cracks, water gets behind it, and water behind a steel panel is the beginning of panel rust.
Here’s what to check, and what it prevents:
- Look for cracks, brittleness, or gaps along the bottom edge. A seal that’s stiff enough to crack when you press it with a thumb has already stopped sealing.
- Check the threshold itself for lifting or crumbling concrete. If the threshold rises up on one side, the seal rides unevenly all winter and wears out twice as fast.
- Test the seal against the floor by closing the door and looking along the bottom from the inside. Any daylight coming through means the seal isn’t contacting and cold air is getting in.
Why this matters for cost: a bottom seal swap runs roughly $75-$150 for the part and labor in the Camden area, depending on door width. Letting it go until the bottom panel rusts through pushes the job into panel replacement or full door replacement territory, and a full door install is a much bigger project. Replacing the seal is a same-visit job for a technician; replacing a panel usually isn’t.
Do this check in the fall, before the first hard freeze. That’s the window where the threshold is still accessible and the seal is still flexible enough to properly seat.
Lubrication in a Cold-Climate Market
Generic national checklists tell you to “lubricate the moving parts.” That advice is half useless in Camden, because the lubricant you choose matters more than the schedule. A standard multi-purpose grease or a silicone spray that works fine in milder markets can thicken into a sticky paste when the temperature drops into single digits, which adds resistance to the door’s travel and wears the opener motor harder.
What to use, and where:
- Use a low-temperature white lithium grease or a cold-rated synthetic lubricant on the torsion spring, hinges, roller bearings, and the bearing plates at the bottom of the torsion bar.
- Skip the track. Tracks don’t need lubricant and adding it attracts grit that wears the rollers. Wipe them clean with a dry cloth instead.
- Apply sparingly. A thin film is enough. Excess grease collects road dust and turns into an abrasive.
- Reapply in fall and spring. Fall because the door has to survive the cold season; spring because the winter has stripped the film off.
Lubrication is a two-way benefit. It reduces the load on the opener, which is the electronic brain of the whole system, and it quiets a door that’s been getting louder. If your Genie or LiftMaster opener feels like it’s laboring, the cause is often resistance in the door itself, not the motor. That’s worth knowing before you replace an opener that’s just reacting to a dry hinge.
Our technicians have up to 10 years of experience working on all eight major brands, including Clopay, Amarr, Wayne Dalton, LiftMaster, Chamberlain, Genie, Craftsman, and Raynor, so we’re comfortable on whatever you have.
Inspecting Torsion Springs Without Touching Them
We’re going to say this first, clearly: do not touch or attempt to adjust a torsion spring yourself. A torsion spring stores enormous energy, and if it releases while you’re near it, it can cause serious injury. Spring repair is one of the highest-risk jobs in home maintenance, and it’s not a homeowner task. This section is a visual inspection only.
What you’re looking for, safely, from a few feet away:
- Gaps or small cracks in the coil. A fatigued spring often develops a visible gap between two coils before it fails completely. Shine a light along the length of the spring and look for one.
- Discoloration or rust streaks. These can indicate stress.
- A door that’s getting heavy. If the door feels like it’s fighting you when you lift it by hand (with the opener disconnected, if you’re comfortable doing that), the spring may already be losing tension.
- A loud bang that happened without a call. If you hear it and the door won’t lift, a spring has likely snapped. Stop using the door and call a professional.
Why you check: a spring showing fatigue cracks is a spring that will snap, usually at the worst time. Catching that visually lets you schedule a spring replacement on your terms rather than paying emergency rates when it gives out at 6 a.m. Spring repair in the Camden area typically runs $180-$340 per spring, and a matched pair is usually replaced together, so a pair costs roughly twice the single-spring range. The written estimate before any work starts is the final price.
For the full picture on what spring work involves and why it’s handled by trained technicians, this is one of the services our team handles as a core offering, not a side job.
The Balance Test: Is Your Door Struggling?
This is a 30-second check that tells you more about your door’s health than almost anything else. A balanced door moves smoothly and holds its position. An unbalanced one struggles, which strains the opener and accelerates wear.
- Disconnect the opener using the manual release cord (usually a red handle).
- Lift the door about halfway up and stop.
- Let go. A well-balanced door will hold roughly where you stopped it. A door that slides back down on its own is telling you the springs are under-tensioned or the door is out of alignment.
If the door falls shut quickly, don’t force it. Reconnect the opener and stop lifting it manually. That’s a sign of a spring problem, and it’s the moment to schedule a technician visit rather than keep testing.
An unbalanced door also puts strain on the opener, which is why a Wayne Dalton or Amarr door with worn springs can burn out a motor that had nothing wrong with it. That’s a $250-$500+ opener repair caused by deferred spring work. The balance test catches it first.
The 60-Second Opener Force-Limit Test
Every technician runs this test first, and almost no homeowner has ever performed it. The opener’s force-limit feature is a safety system: it measures resistance and reverses or stops the door if it hits something. If it’s set too high, it won’t stop when it should. That’s a serious safety gap, especially in a home with kids or pets.
The rough procedure for most openers (your specific model may vary; check the manual for a Chamberlain, LiftMaster, Genie, or Craftsman unit):
- Place a 2×4 block flat on the floor directly under the center of the door.
- Close the door using the opener.
- When the door contacts the block, it should reverse immediately or within a couple of seconds. If it doesn’t, the force limit is set too high.
Then test the safety sensors. Most modern openers have two sensors at the bottom of the track that should stop and reverse the door if interrupted while closing. Wave an object through the sensor beam while the door is closing to confirm the door reverses. If it doesn’t, the sensors need alignment or replacement.
If your opener is older and doesn’t reliably reverse, don’t keep using it. An opener that fails this test isn’t a garage door problem, it’s a safety problem, and it’s worth a garage door opener repair call before anything else on this list.
Hardware Tightening and Roller Wear
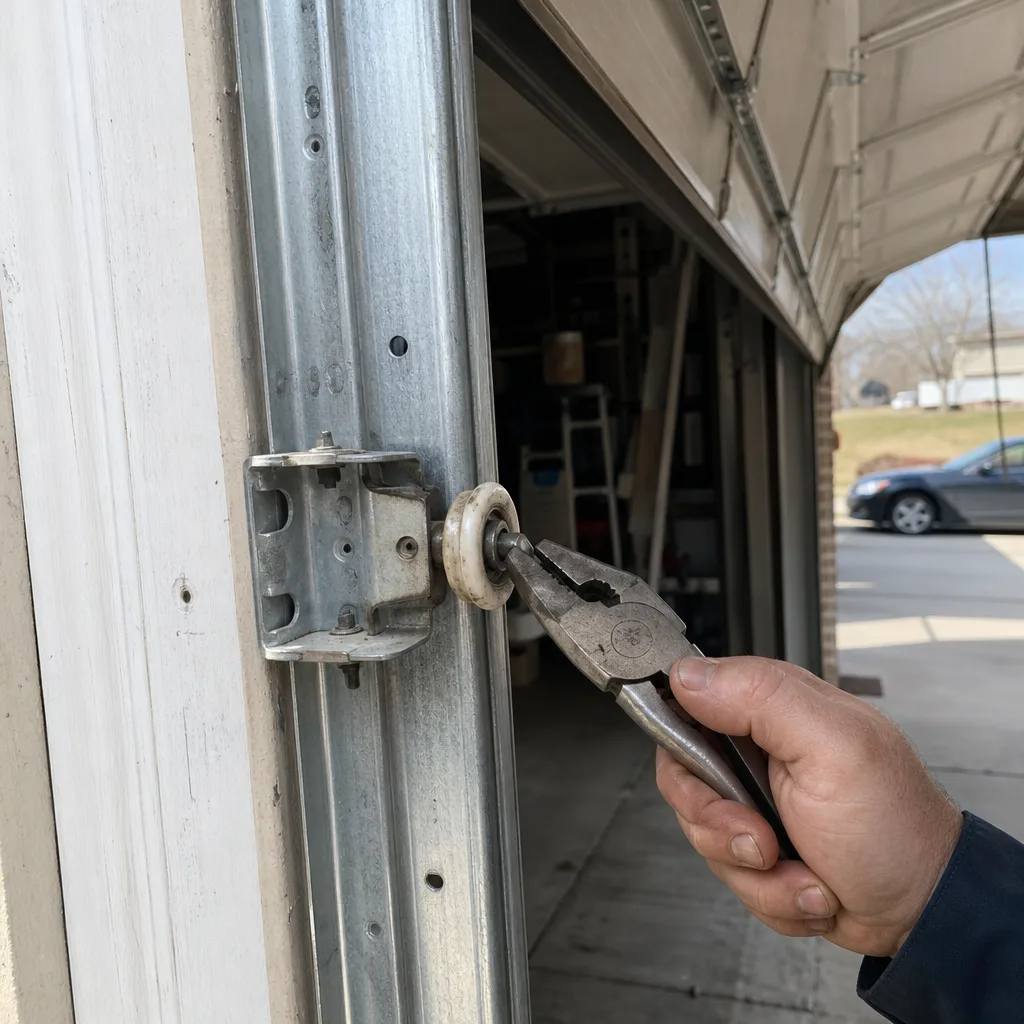
This is the least glamorous item on the checklist and the one most often skipped. Vibration from routine use loosens every bolt on the door over time. Loose hinges and roller brackets cause the door to wobble in its tracks, which accelerates roller wear and eventually bends the track itself.
What to check, on a door in a Camden home:
- Hinges: grab each hinge and see if it rocks or shifts. Tighten any loose bolts with a socket wrench.
- Rollers: look for flat spots, cracks, or rollers that no longer seat fully in the track. Nylon rollers last longer than steel; if yours are steel, they’re more prone to squealing and flat-spotting.
- Track alignment: run your hand along the inside of the vertical and horizontal tracks. Any bend or dent means the rollers travel unevenly.
- Lift cables: check for fraying, but don’t adjust them. Cables are under tension and should only be serviced by a professional.
What each task prevents: a $5-to-$20 roller replacement done on schedule prevents a $100-$300 track realignment. A track realignment done on schedule prevents a full door-out-of-alignment call, which is a bigger job. This is the cheapest chain of maintenance on the entire checklist, and it’s also where most homeowners are too busy to look.
Documenting Maintenance for Warranty and Resale
This is the step almost nobody does, and it’s the one that pays off when something goes wrong. A simple maintenance log, written down, serves two purposes: it supports a warranty claim, and it helps with a home sale disclosure.
What to record:
- The date of each maintenance task, whether you did it or a technician did.
- What was done, in plain terms: seal replaced, springs inspected, grease applied, opener tested.
- The parts used, with brand names. If a Clopay panel or a Wayne Dalton spring gets replaced, the brand and model matter for future warranty work.
- The technician’s name and any written notes from a professional visit.
For a resale disclosure in Camden, a documented maintenance history tells a buyer the door hasn’t been neglected, which matters more than most sellers realize. A buyer’s inspector will note a garage door that’s squeaking or unbalanced, and a clean maintenance log is often enough to answer the question before it becomes a negotiation point. If you’ve had any spring work done, that record matters even more, because spring replacement is the single most important safety-related service on the door.
For a full door replacement, our garage door installation team can talk through what a documented install includes and what to keep for warranty purposes.
See the difference
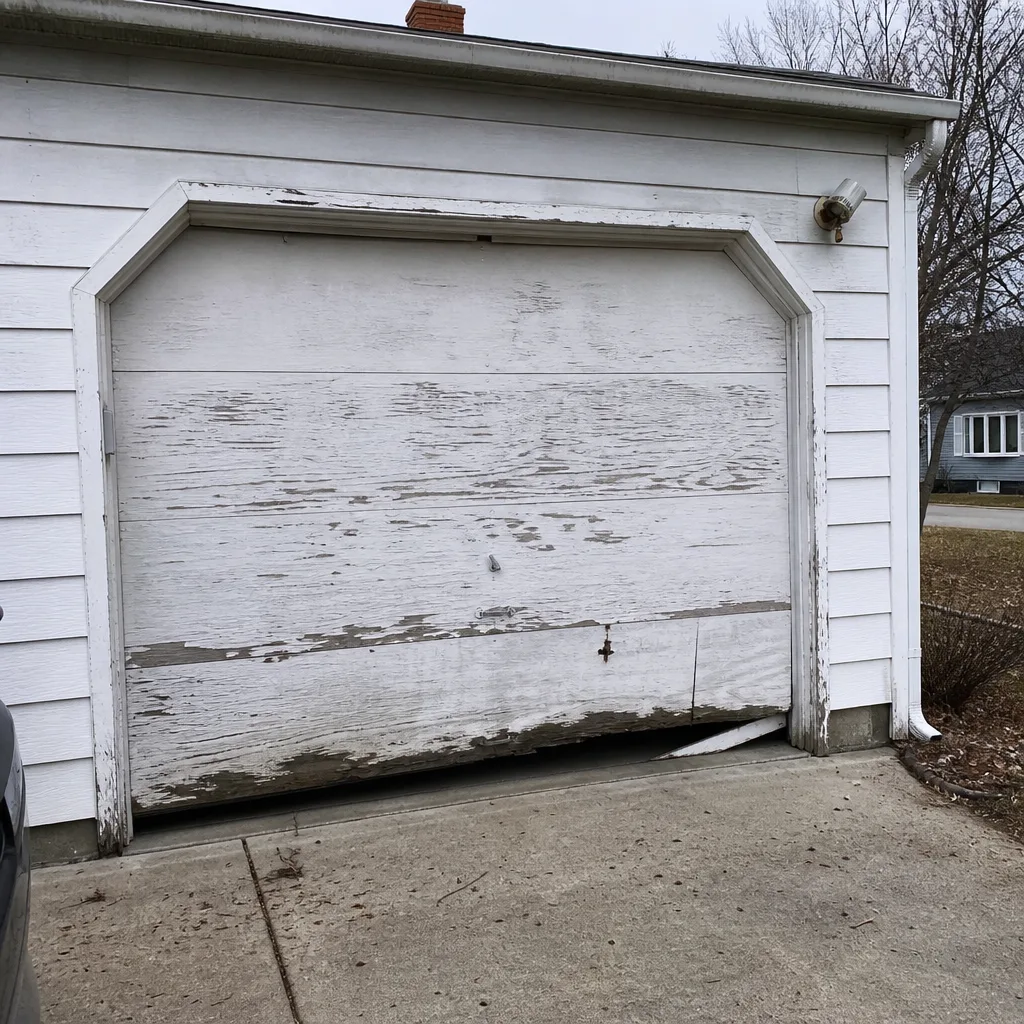 Before
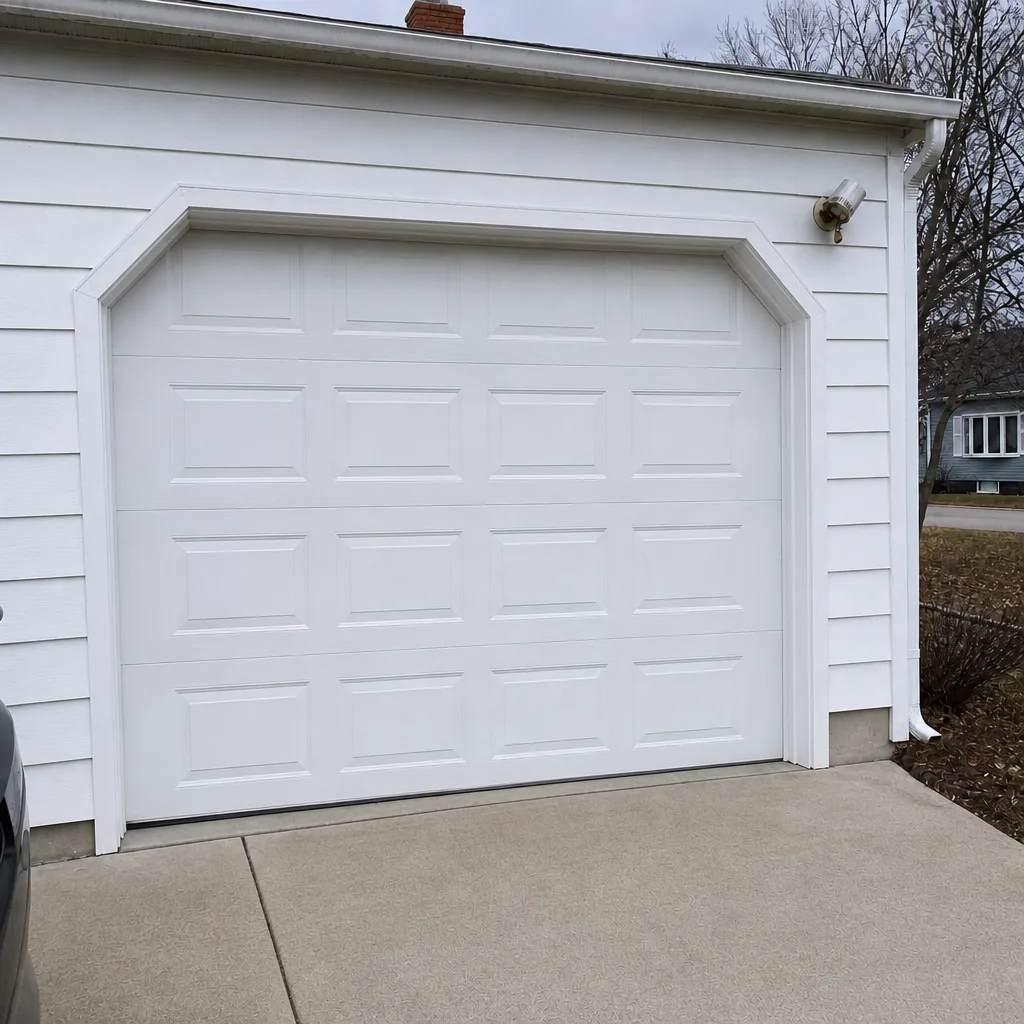 After
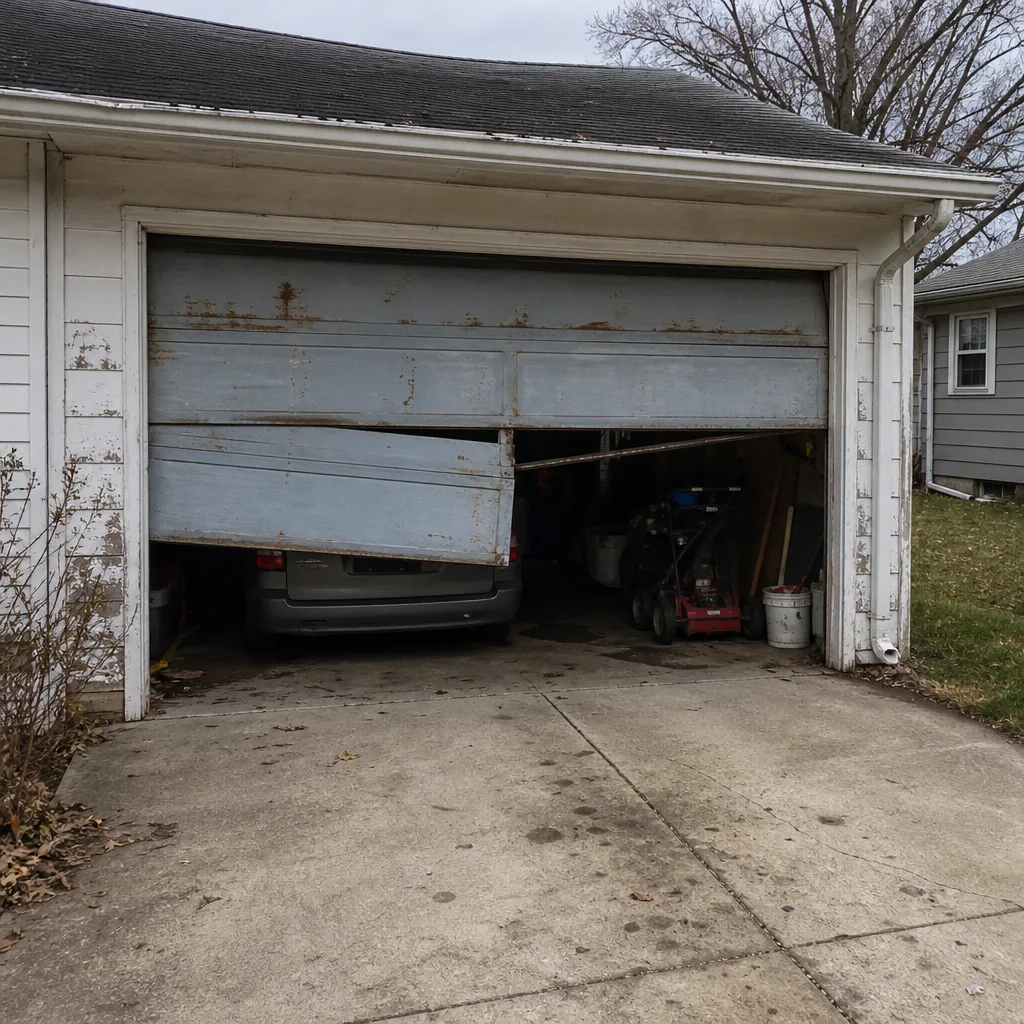 Before
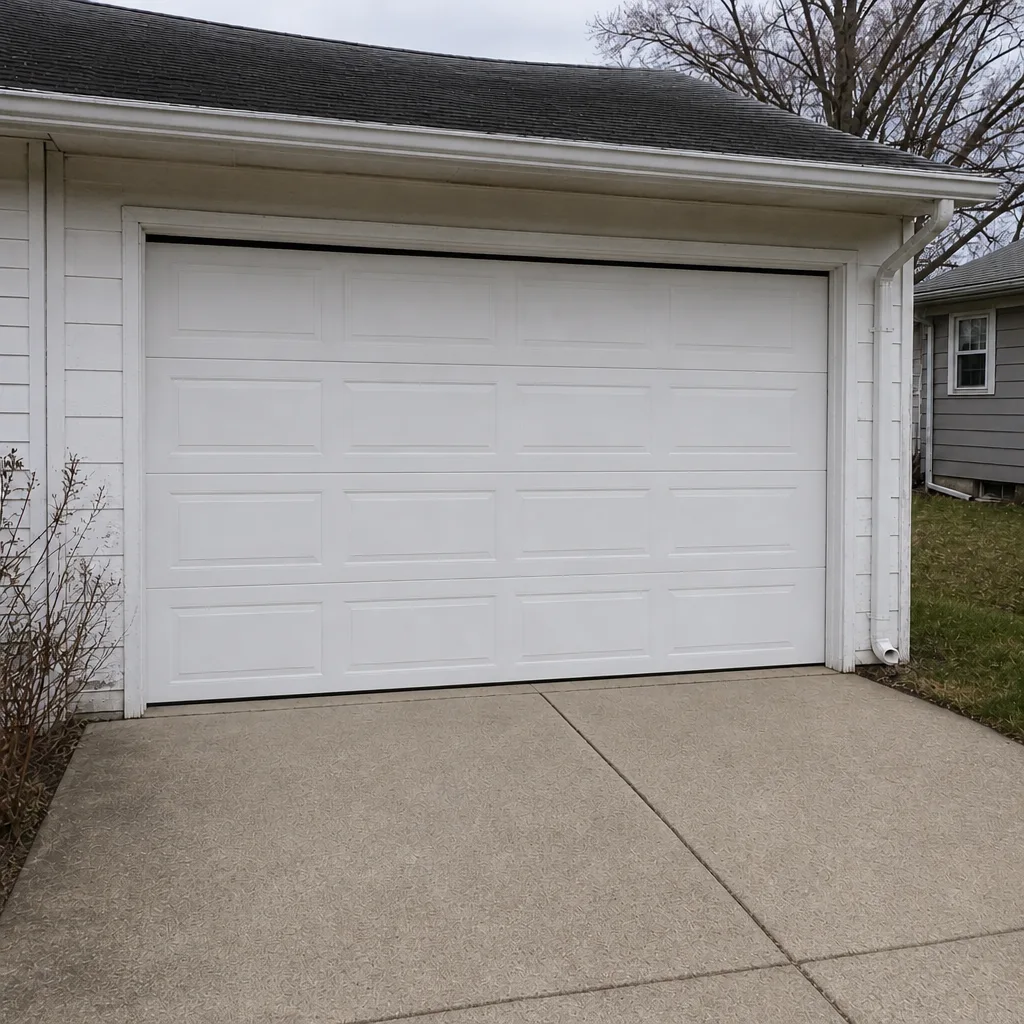 After
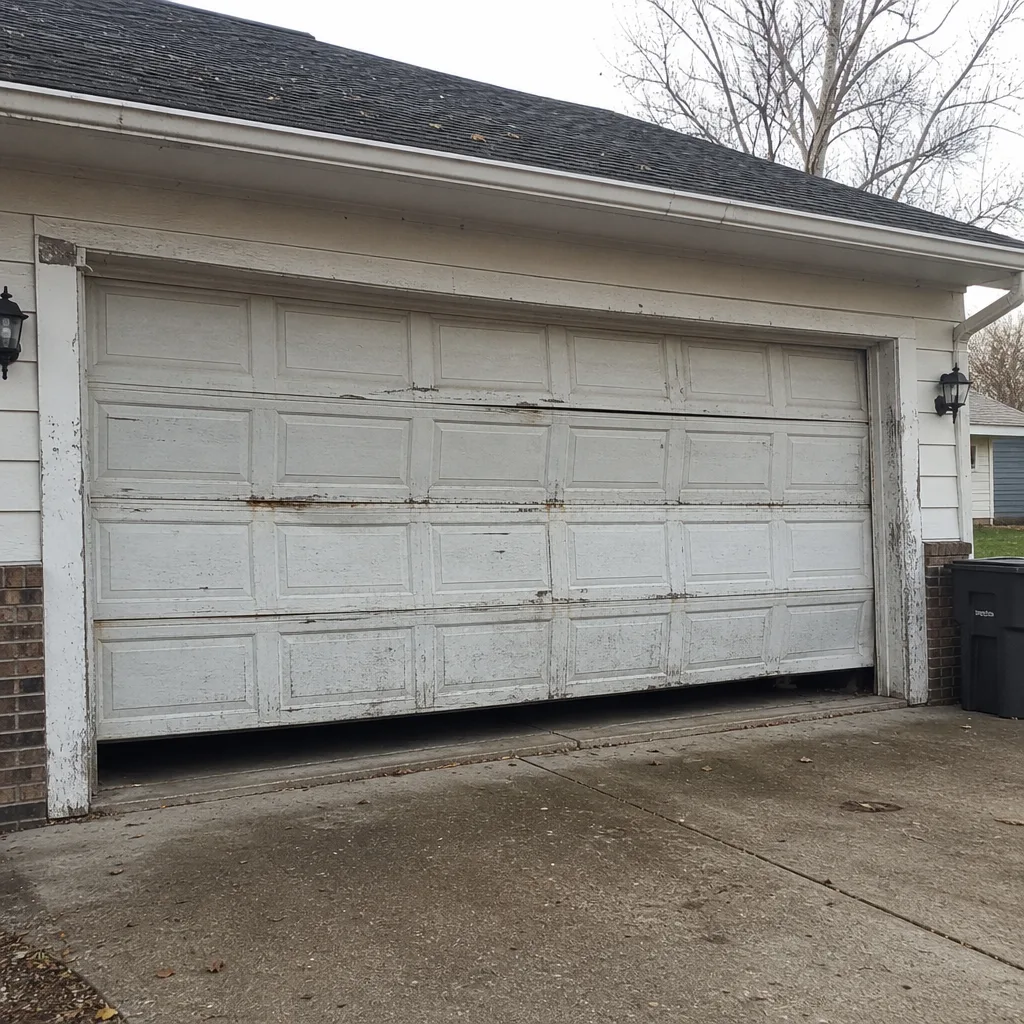 Before
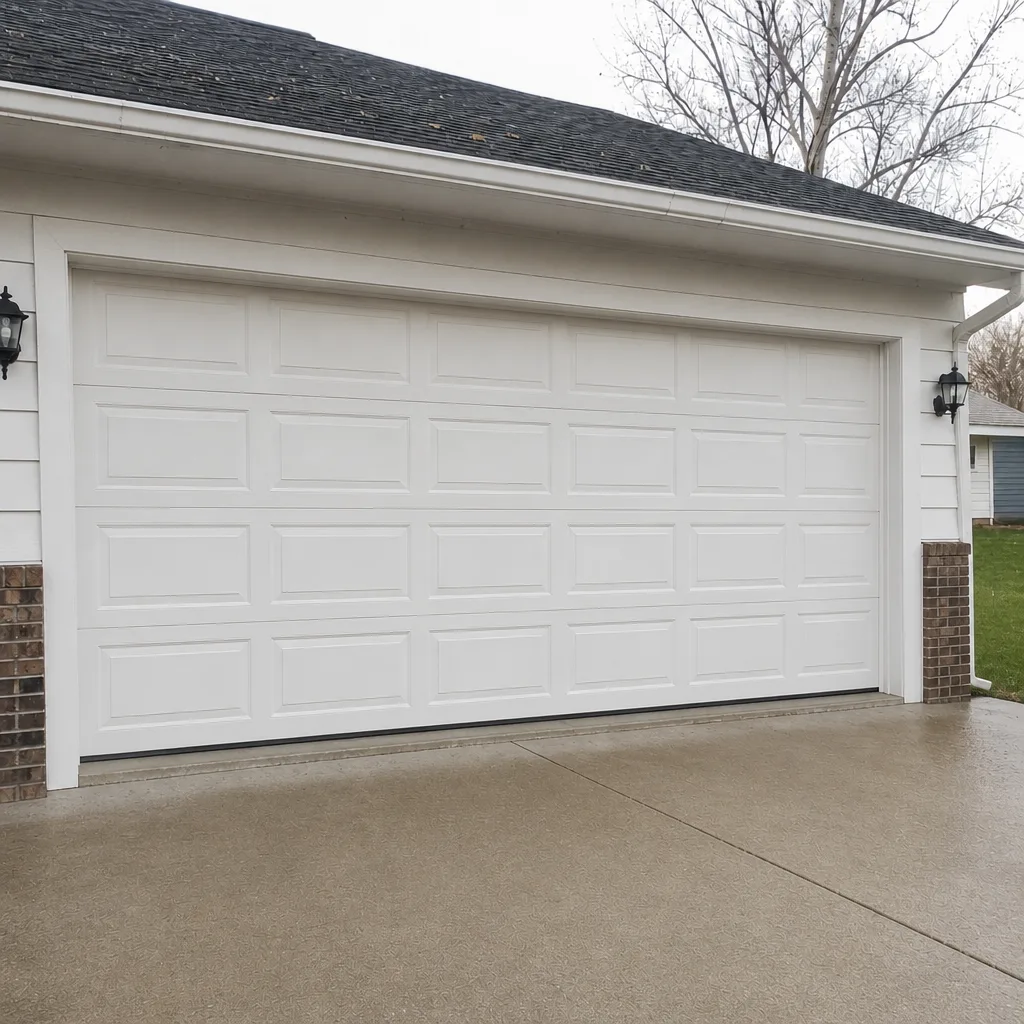 After
Common Mistakes to Avoid
- Wiping down the tracks with grease. Tracks should stay clean and dry, not lubricated. Grease attracts grit that wears the rollers faster than a dry track ever would.
- Skipping the bottom seal check in fall. This is the most common mistake Camden homeowners make, and it’s the cheapest one to fix. Do this check before the first freeze, not after.
- Testing the force limit once and never again. The force limit can drift, especially on older openers. Run the test twice a year along with the rest of the checklist.
- Giving the springs a “test pull” by hand. Never. Touching or attempting to adjust torsion springs causes serious injuries. Visual inspection only, from a safe distance.
- Using the opener to lift a door that’s already struggling. A door that won’t balance freely is a door with worn springs. Running the opener anyway accelerates wear on both the springs and the motor.
- Assuming a loud door needs a new opener. Most of the time, the noise is in the hinges, rollers, or springs. Fixing the mechanical parts usually quiets the door and saves an unnecessary opener replacement.
- Never writing anything down. No documentation means no warranty support and no answer at resale time. Five minutes of notes after each check saves far more than five minutes of explaining later.
When to Call a Professional
Some of this checklist is genuinely DIY: wiping down tracks, applying cold-rated grease, tightening a loose hinge. Some of it never should be. Call a professional when a spring looks fatigued or has snapped, when the door won’t balance after the release test, when the opener fails the force-limit or safety-reverse test, when cables look frayed, or when the door is off its tracks entirely. Those are the situations where DIY turns a small repair into a bigger one and, in the case of springs, into a real safety risk. Garage Door Repair Camden offers free estimates in Camden – call (877) 256-1677. Estimates are free, and we handle both the mechanical door system and the opener, so you don’t have to coordinate two separate companies.
Frequently Asked Questions
Twice a year, in fall and spring. Fall prep gets the door ready for the cold season, and spring cleans up what winter left behind. Camden’s freeze-thaw cycle makes both of those checks worthwhile; skipping either one is where deferred maintenance starts compounding.
Weatherseal and threshold failures that turn into larger repairs. The bottom seal is cheap to replace and easy to check, but when it cracks in the cold and lets water sit against the bottom panel, a small fix becomes a track realignment or panel replacement. Spring and opener problems follow, but seal issues are the ones most homeowners let slide.
Yes. Lubricating hinges, rollers, spring coils, and bearing plates with a cold-rated grease is a safe homeowner task. Skip the track, apply sparingly, and reapply in fall and spring. Don’t adjust springs or cables, and don’t touch the springs at all beyond a visual inspection.
Typically $180-$340 per spring, and a matched pair is usually replaced together, so a pair comes out to roughly twice that. The written estimate before work starts is the final price. Call (877) 256-1677 for an exact quote.
Usually not. Most of the noise is in the mechanical parts (hinges, rollers, springs) rather than the opener motor. Fixing the door’s hardware or replacing a worn spring usually quiets the door and saves an unnecessary opener replacement.
A loud bang followed by a door that won’t lift usually means a torsion spring has snapped. Stop using the door (don’t force it and don’t run the opener) and call a professional; spring repair is a trained-technician job. Call (877) 256-1677 for an emergency visit.
Yes. A documented maintenance history, with dates, parts, and brand names, helps answer a buyer’s inspector’s questions and shows the door has been looked after. It’s a small thing that can save a negotiation headache at the offer stage.
Written by the team at Garage Door Repair Camden.